Best AI Image Generators 2026 for Beginners (Free & Easy Picks)
Type a sentence, get a picture. That is the promise of AI image generators, and for beginners it feels close to magic the first time you try it: “a watercolour painting of a cat sitting in a sunny window” becomes an actual image in under a minute, no drawing skill required. The tools have become good enough that bloggers, small business owners, teachers, social media creators and hobbyists now use them every day for illustrations, thumbnails, product mockups and social posts.
But the first image you generate is rarely the one you wanted. The cat is facing the wrong way, the window is a door, the watercolour looks like a photograph, or the image has six fingers on a hand. Learning to use these tools well is mostly about learning to write better prompts, understanding what each tool is good at, and knowing the rules about commercial use before you put an image on something you sell.
This guide is for beginners. It explains how AI image generators work in plain language, the main tools worth trying in 2026, the styles and uses they are best for, how to write prompts that actually work, and the commercial use and copyright basics you need to know before you publish or sell anything made with them.
How AI Image Generators Work (In Plain Language)
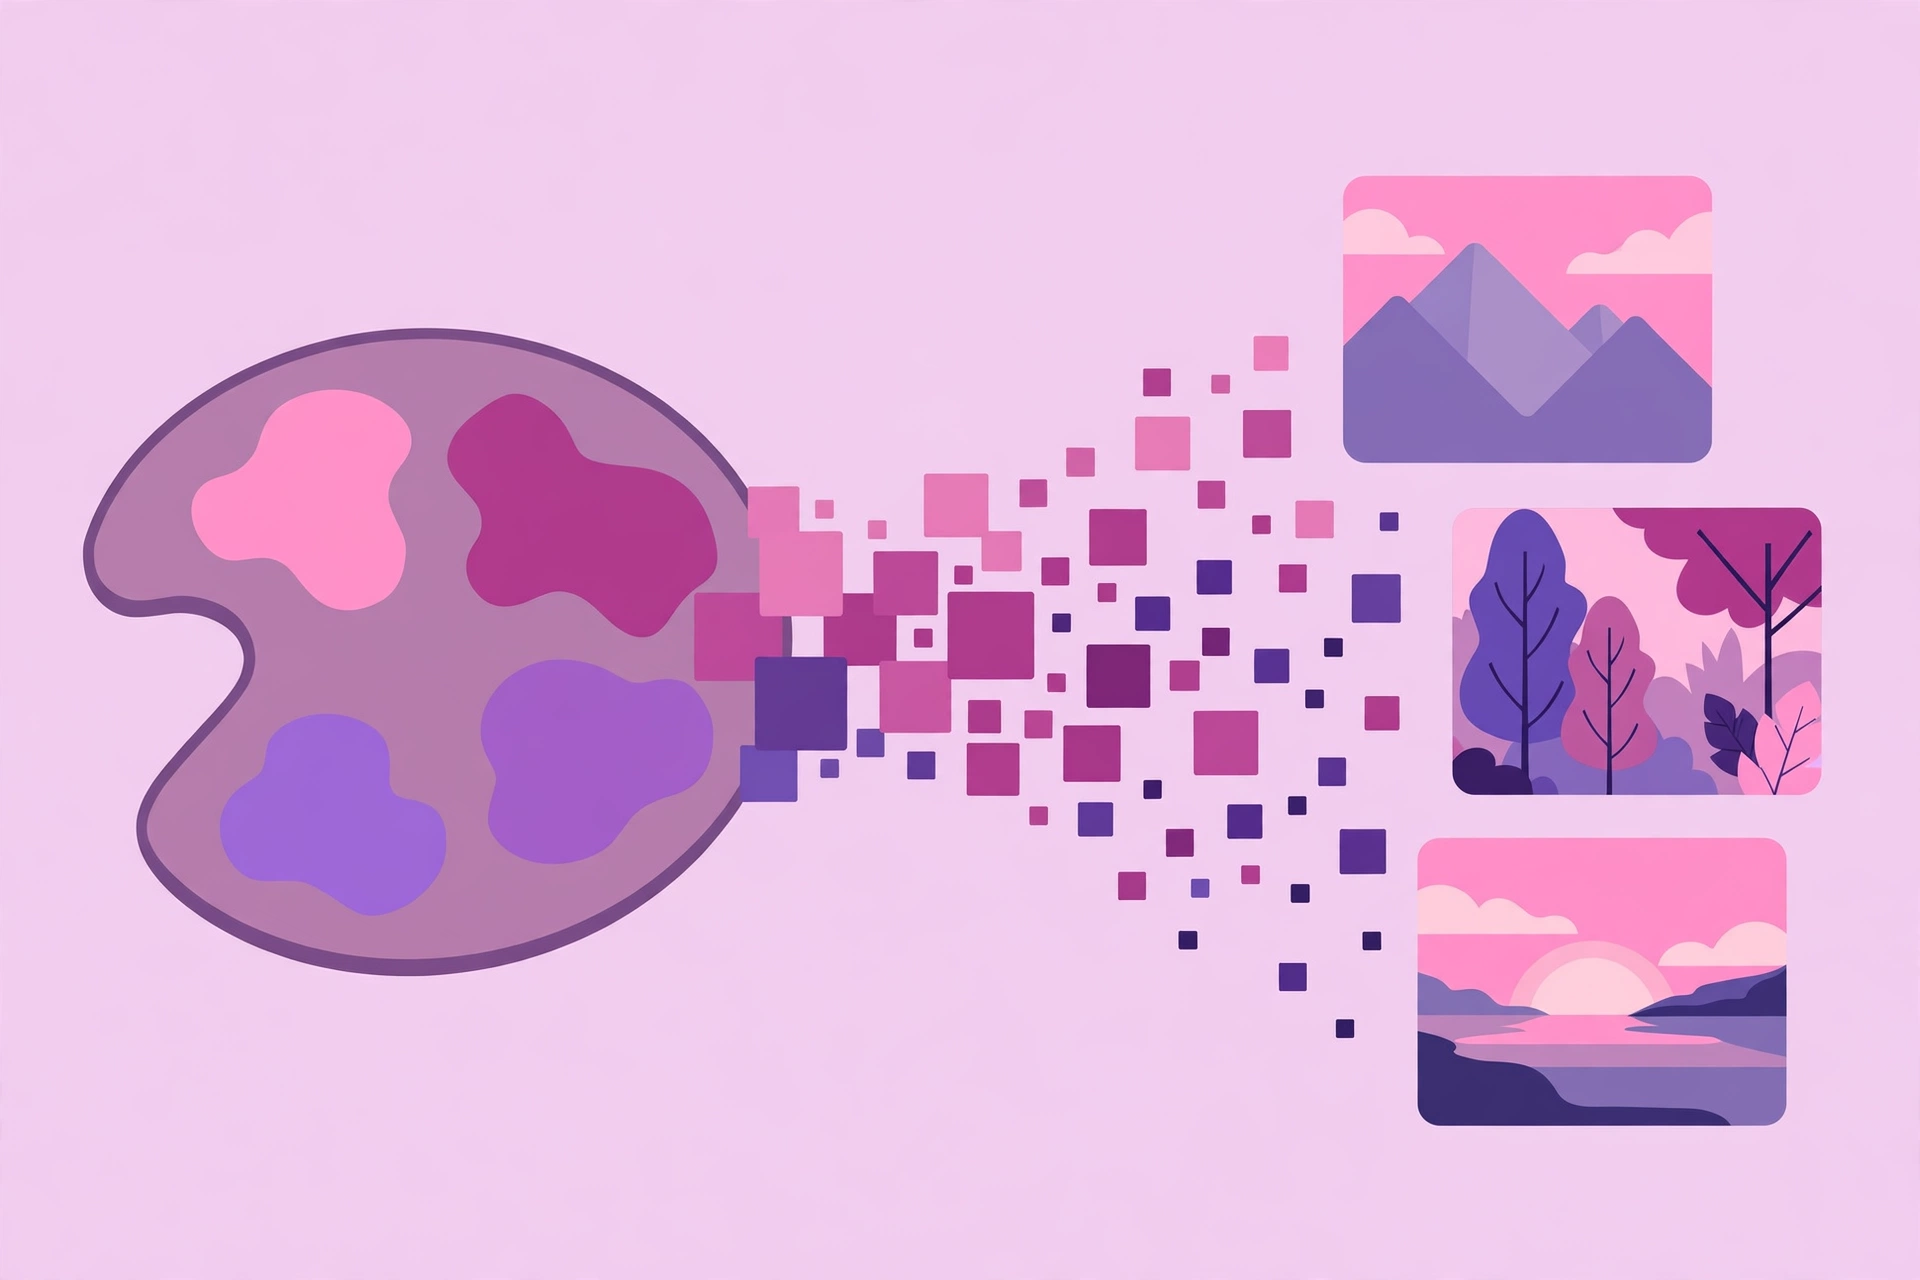
An AI image generator is a model trained on a huge number of images and their descriptions. When you type a prompt, the model works out what the words mean in visual terms — what a “watercolour cat” looks like, what “sunny window” implies about light and colour — and then builds a new image from scratch, pixel by pixel, guided by that understanding. It is not searching for an existing image and it is not copying one. It is generating something new that matches the patterns it learned.
That is why the results can be both impressive and strange. The model knows what hands look like in general, but it has not always learned the fine details, which is why fingers and faces have historically been the weakest part of AI images. It also has no real understanding of the world: it does not know that a cat cannot sit inside a teacup, or that a clock’s hands should point to a consistent time. It is matching patterns, not reasoning about reality, and the more you understand that, the better your prompts become.
Most tools work the same way at a basic level. You type a text prompt, choose a size or aspect ratio, sometimes pick a style, and the tool generates one or more images. You can then refine the result: change the prompt, generate variations of an image you like, or ask the tool to edit part of the image. Some tools also let you upload a reference image and ask for something in a similar style, or describe an image you want changed. The details differ, but the core loop — prompt, generate, refine — is the same everywhere.
If you want to understand the technology in more depth, our guide on how AI image generators work explains the ideas behind it without assuming any technical background.
The Best AI Image Generators for Beginners in 2026
The tools below are the ones beginners most commonly start with. They are described in general terms, because features and pricing change often, and the best choice depends on what you want to make. Most offer a free tier, so you can try them before paying for anything, and the free tier is usually enough to learn whether a tool suits you.
The All-Rounders: Easy to Learn, Good at Most Things
The most popular general-purpose image generators are the best starting point for most beginners. They handle a wide range of styles — photographs, illustrations, watercolours, cartoons, product shots — from a single text prompt, and they have simple interfaces with few settings to get wrong. You type a sentence, you get four images, you pick the best one and refine from there.
These tools are good at everyday jobs: a blog illustration, a social media post, a presentation image, a thumbnail, a background. They are less good at very specific things, like keeping the same character consistent across many images, or rendering text accurately inside an image. If your main need is a variety of images for content, start here. Try the free tier of one or two of them with the same prompt and compare the results — the difference in style between tools is real, and you will quickly develop a preference.
The Photorealistic Tools
Some tools specialise in images that look like photographs. These are the ones to use when you need a realistic product shot, a lifestyle image, a portrait-style illustration, or a scene that could pass for a real photo. They handle light, skin, fabric and natural settings better than the general tools, and they are the best choice for anything where realism matters.
They are also the tools where the ethics matter most. A photorealistic image of a person who does not exist can be used responsibly — for an illustration, a mockup, a fictional character — or irresponsibly, if it is presented as a real person or used to mislead. Be honest about what your images are, especially if they show people. A caption or a note that an image is AI-generated costs you nothing and keeps you honest.
The Artistic and Stylised Tools
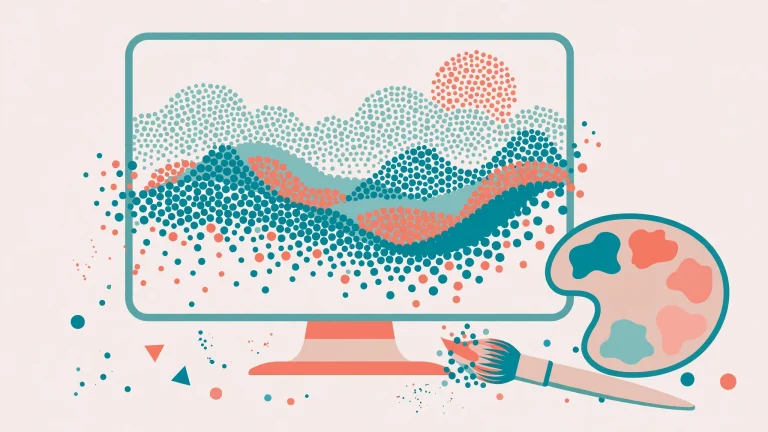
Other tools lean towards art: illustration, anime, comic styles, painterly effects, fantasy and concept art. These are the best choice for creative projects — book covers, game art, posters, character designs, and anything where a distinctive style matters more than realism. They often have style presets you can pick from, which makes them easier for beginners, because you choose a look and the tool handles the rest.
If you are a content creator, these tools pair well with other AI creative tools. Our guide to the best AI tools for content creators covers the wider set, and our guide to the best AI photo editing tools is useful if you want to edit or improve the images you generate.
Tools Built Into Other Apps
You do not always need a standalone image generator. Many of the apps beginners already use — design tools, presentation software, photo editors, social media schedulers — now have image generation built in. The advantage is convenience: you generate the image where you are already working, and you can drop it straight into a design or a slide. The quality is usually good for everyday use, though the dedicated tools tend to offer more control and more styles.
If you already use a design tool regularly, check whether it has image generation before you sign up for something new. It may do everything you need, and it will save you a subscription and a learning curve.
How to Write Prompts That Actually Work
Prompting is the skill that separates beginners who get frustrated from beginners who get good results, and it is a learnable skill, not a talent. The principles are simple.
Start with the subject, then the style, then the details. A good prompt has a clear structure: what is in the image, what it looks like, and how it is lit and composed. “A small bakery storefront in the morning, warm watercolour illustration, soft light, cosy and inviting” is a good prompt. “Bakery” is not. The model needs enough information to make choices, and every detail you leave out is a choice it will make for you, at random.
Be specific about style. Words like “photograph”, “watercolour”, “oil painting”, “flat illustration”, “anime”, “3D render” or “vintage poster” change the result dramatically, and they are the single most powerful words in a prompt. If you have a style in mind, name it. If you do not, try the same prompt with three different style words and compare the results — you will learn more from that one experiment than from any guide.
Be specific about light, mood and composition. “Golden hour light”, “soft shadows”, “close-up”, “wide shot”, “viewed from above”, “minimal background” are all useful directions. Composition words matter because the model needs to know where to put things: a “close-up of a cat” and a “cat sitting in a wide sunny room” are very different images, and the prompt should say which one you want.
Say what you do not want. Most tools let you add a negative prompt — things to avoid — or you can include it in the main prompt: “no text”, “no people”, “no watermark”. Text in images is a common problem: AI generators often produce garbled or misspelled words when they try to render text, so asking for “no text” is a good habit unless you specifically need words in the image.
Iterate. Almost nobody gets the image they want on the first try. Generate, look at what is wrong, change one thing in the prompt, and generate again. Changing one thing at a time is important: if you change five things and the image gets better, you will not know which change did it. Keep the prompts that worked, and build a small collection of them to reuse.
Our guide on how to write better AI prompts covers these principles in more depth, and they apply to image generation just as much as to chatbots.
Common Uses for Beginners
AI image generators are most useful when the alternative is no image at all, or a stock photo that does not quite fit. A blogger who needs an illustration for a post about a niche topic will rarely find the perfect stock photo; a generated image can match the topic exactly. A small business owner who needs a social media post about a seasonal offer can generate a themed image in minutes instead of hiring a designer for a one-off post. A teacher who needs a visual aid for a lesson can generate exactly the diagram or scene they described.
They are also useful for mockups and ideas. If you are designing a product, a poster or a room, a generated image can show you a direction quickly, before you commit to the real thing. If you are a writer, a generated image can help you visualise a character or a setting. The image does not need to be perfect for these uses — it needs to be good enough to spark the next step.
There are uses where they are less suitable. Anything that needs to be accurate — a real place, a real person, a real product, a diagram with correct labels — is a poor fit, because the model invents details. Anything that needs the same character or object to look identical across many images is also hard, though tools are improving at this. And anything where authenticity matters — a photo of your actual shop, your actual team, your actual product — should be a real photograph, not a generated one. Customers can tell the difference, and they trust real photos more.
Commercial Use, Copyright and the Rules You Need to Know
This is the section beginners skip and later regret, so read it before you publish or sell anything made with an AI image generator.
First, the tool’s terms matter. Most image generators allow commercial use of the images you generate, especially on paid plans, but the terms differ between tools and between free and paid tiers. Some free tiers allow commercial use, some do not, and some require attribution. Read the terms of the tool you are using, and keep a note of what they say. If you switch tools, the terms switch too.
Second, the legal position is still evolving. In many countries, an image generated by AI cannot be copyrighted in the same way as a human-made image, because copyright generally requires a human author. That means you may not be able to stop someone else from using a similar image, and it means the legal protection for AI images is weaker than for photographs or illustrations you made yourself. The rules are different in different countries and they are changing, so treat AI images as useful but legally lighter than original work.
Third, do not generate images that copy someone else’s work. Asking a tool to produce an image “in the style of” a living artist, or to recreate a recognisable character from a film or a brand’s mascot, can create copyright and trademark problems. The tool may comply, but that does not make it safe. Use original descriptions, avoid named artists and characters, and be especially careful with anything you plan to sell.
Fourth, be honest with your audience. If an image is AI-generated and it is presented as a real photograph — of a place, a person, an event — that is misleading, and it can damage trust. A simple note that an image is AI-generated, or a caption that makes it clear, is enough. Most audiences do not mind AI images; they mind being misled.
If you want to improve or upscale the images you generate, our guide to the best AI image upscalers covers tools that increase resolution and clean up details, which is useful if you need a generated image for print.
Practical Tips for Better Results
A few habits will improve your results quickly. Use a consistent aspect ratio for the job: wide images for blog headers and website banners, square images for social media posts, tall images for phone wallpapers and posters. Most tools let you set this before generating, and it is much easier than cropping afterwards.
Generate several versions and pick the best. Most tools produce four images per prompt. Do not settle for the first one. Look at all four, pick the strongest, and generate variations of that one. The difference between the best and the worst of four images is often large, and picking well is part of the skill.
Save your good prompts. When a prompt produces a great image, save the prompt alongside the image. Over time you will build a personal library of prompts that work for your style, and you will spend less time starting from scratch. This is especially useful if you produce images regularly for a blog or a social account, where a consistent look matters.
Edit after generating. A generated image is a starting point, not a finished product. Cropping, adjusting brightness, removing a small flaw, or adding text in a design tool will usually improve it more than another ten rounds of prompting. The best results come from combining AI generation with a little human editing, and the editing tools built into design apps are enough for most of this.
Finally, keep your expectations realistic about people and hands. These remain the hardest things for image generators to render correctly. If your image needs a person, try a prompt that keeps the person small in the frame, shows them from behind, or focuses on an activity rather than a face. You will get fewer strange results, and the image will look more natural.
Frequently Asked Questions
What is the best AI image generator for beginners?
The best starting point is a general-purpose tool with a simple interface and a free tier. It should let you type a prompt, pick a style, and generate several images at once. Try one or two with the same prompt and compare the results — you will quickly develop a preference for one tool’s style over another. Start with the tool that feels easiest, not the one with the most features.
Are AI image generators free?
Most tools offer a free tier with a limited number of images per day or per month, and sometimes with a watermark or lower resolution. That is usually enough to learn and to make images for personal use. Paid tiers generally add more generations, higher resolution, commercial use rights and faster processing. Try the free tier first and only pay when you need more than it offers.
Can I use AI-generated images commercially?
It depends on the tool and the plan. Most paid plans allow commercial use, but free tiers sometimes do not, and some tools require attribution. Read the terms of the tool you are using before you put an image on a product, an advert or anything you sell. The terms are the contract; what other people say online is not.
Who owns an AI-generated image?
This is still legally unsettled in many countries. In general, you can use the images you generate under the tool’s terms, but you may not be able to claim copyright over them in the same way as a human-made image, because copyright usually requires a human author. The rules differ by country and are changing, so do not rely on AI images for work where strong copyright protection matters.
Why do AI images have problems with hands and faces?
Because hands and faces are complex, with many small details that have to be exactly right, and the model is matching patterns rather than understanding anatomy. A hand with six fingers looks wrong to a human instantly, but to a model it is only slightly different from a correct hand. The tools are improving, but if your image needs a person, try prompts that keep the person small, show them from behind, or focus on the scene rather than the face.
How do I write a good prompt for an AI image generator?
Describe the subject, the style and the details, in that order. Name the style explicitly — photograph, watercolour, flat illustration, anime — and add light, mood and composition: golden hour light, close-up, minimal background. Say what you do not want, such as no text. Then iterate: generate, look at what is wrong, change one thing, and generate again.
Can AI image generators create logos?
They can create logo-like images, but they are not a good tool for a real logo. Logos need to be simple, scalable, consistent and legally safe, and AI generators struggle with text, produce inconsistent results, and may accidentally copy elements from existing designs. For a real logo, use a dedicated logo tool or a designer. Our guide to the best AI logo maker tools covers the better options for that job.
Are AI-generated images allowed on social media?
Yes, generally. Most platforms allow AI-generated images, and some now ask or require you to label them as AI-generated. Check the platform’s rules before you post, and label the image honestly when the platform asks for it. Audiences are generally fine with AI images; they are less fine with being misled about whether an image is real.
What is the difference between an AI image generator and an AI photo editor?
An image generator creates a new image from a text description. A photo editor changes an existing image: removing a background, improving quality, changing colours, or adding elements. They are complementary tools. You might generate an image and then use a photo editor to clean it up, crop it, or increase its resolution. Our guide to the best AI photo editing tools covers the editing side.
Can I sell AI-generated images?
In many cases, yes, if the tool’s terms allow commercial use and the image does not copy someone else’s work. But be careful: images that imitate a living artist’s style, recreate a recognisable character, or copy a brand’s imagery can create legal problems. Use original descriptions, check the tool’s terms, and remember that you may not be able to claim copyright over the image in the same way as a human-made one.
Conclusion
AI image generators have made visual creativity accessible to people who cannot draw, and that is a real and useful change. A blogger, a teacher, a small business owner or a hobbyist can now produce a decent illustration in minutes, try ten ideas before lunch, and match an image to a topic that no stock photo covers. The tools are easy to start with, most have a free tier, and the core skill — writing a clear, specific prompt — is one you can learn in an afternoon.
The tools are not a replacement for a designer or a photographer, and they should not be used as if they were. They invent details, they struggle with people, they cannot guarantee accuracy, and the legal rules around commercial use and ownership are still settling. Use them where they shine — illustrations, ideas, mockups, themed images for content — and use real photos and real designers where accuracy, authenticity and legal safety matter. Learn to prompt well, iterate patiently, edit after generating, and check the terms before you sell anything. Do that, and these tools will save you time and open up creative options you did not have before. If you want to go deeper into how the technology works, start with how AI image generators work, and if you want to polish the images you make, our guide to the best AI photo editing tools is the natural next step.